How to clone a GitLab repository after enabling 2FA
To clone a GitLab repository after enabling two-factor authentication (2FA), you will need to use a personal access token instead of your password. Here is a step-by-step guide:
- In your GitLab account, go to your Preferences and then select Access Tokens from the left menu.
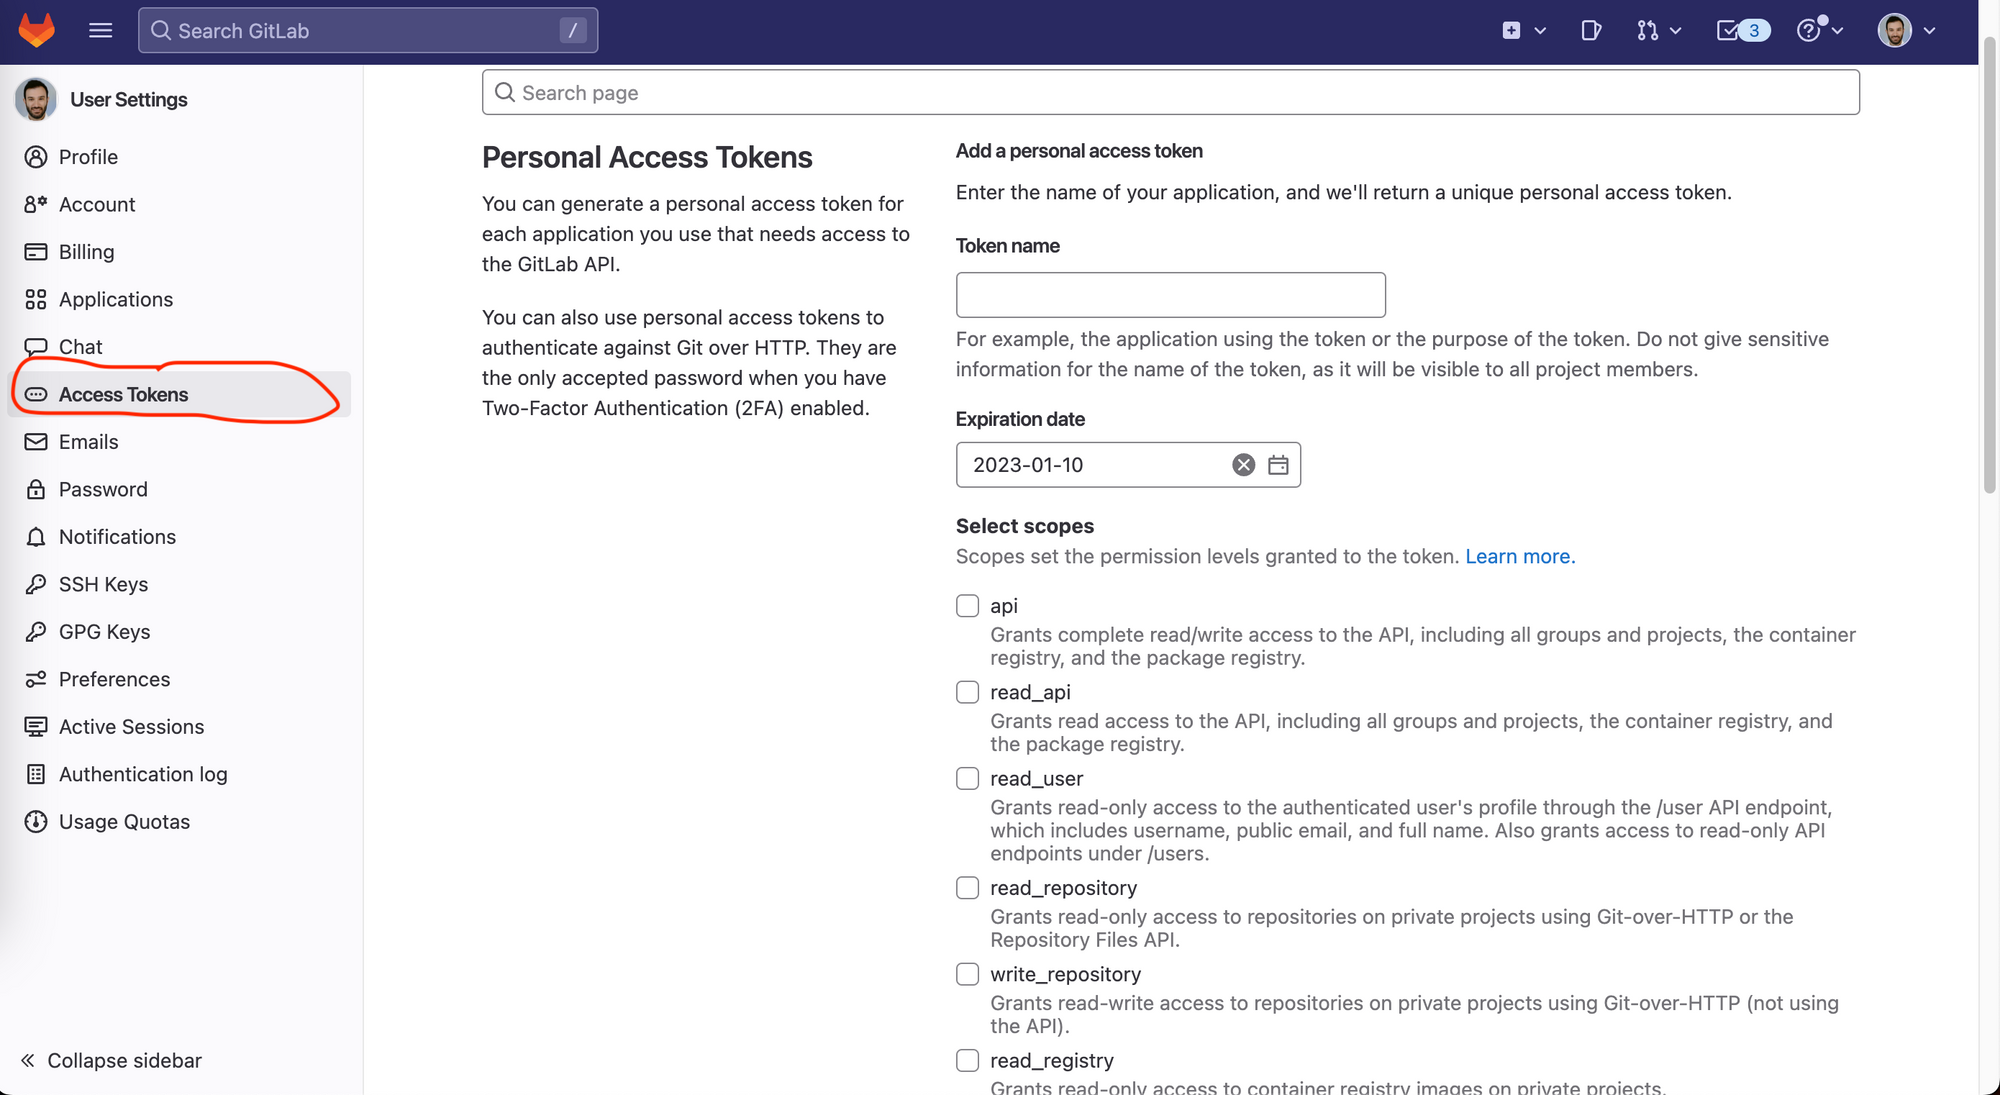
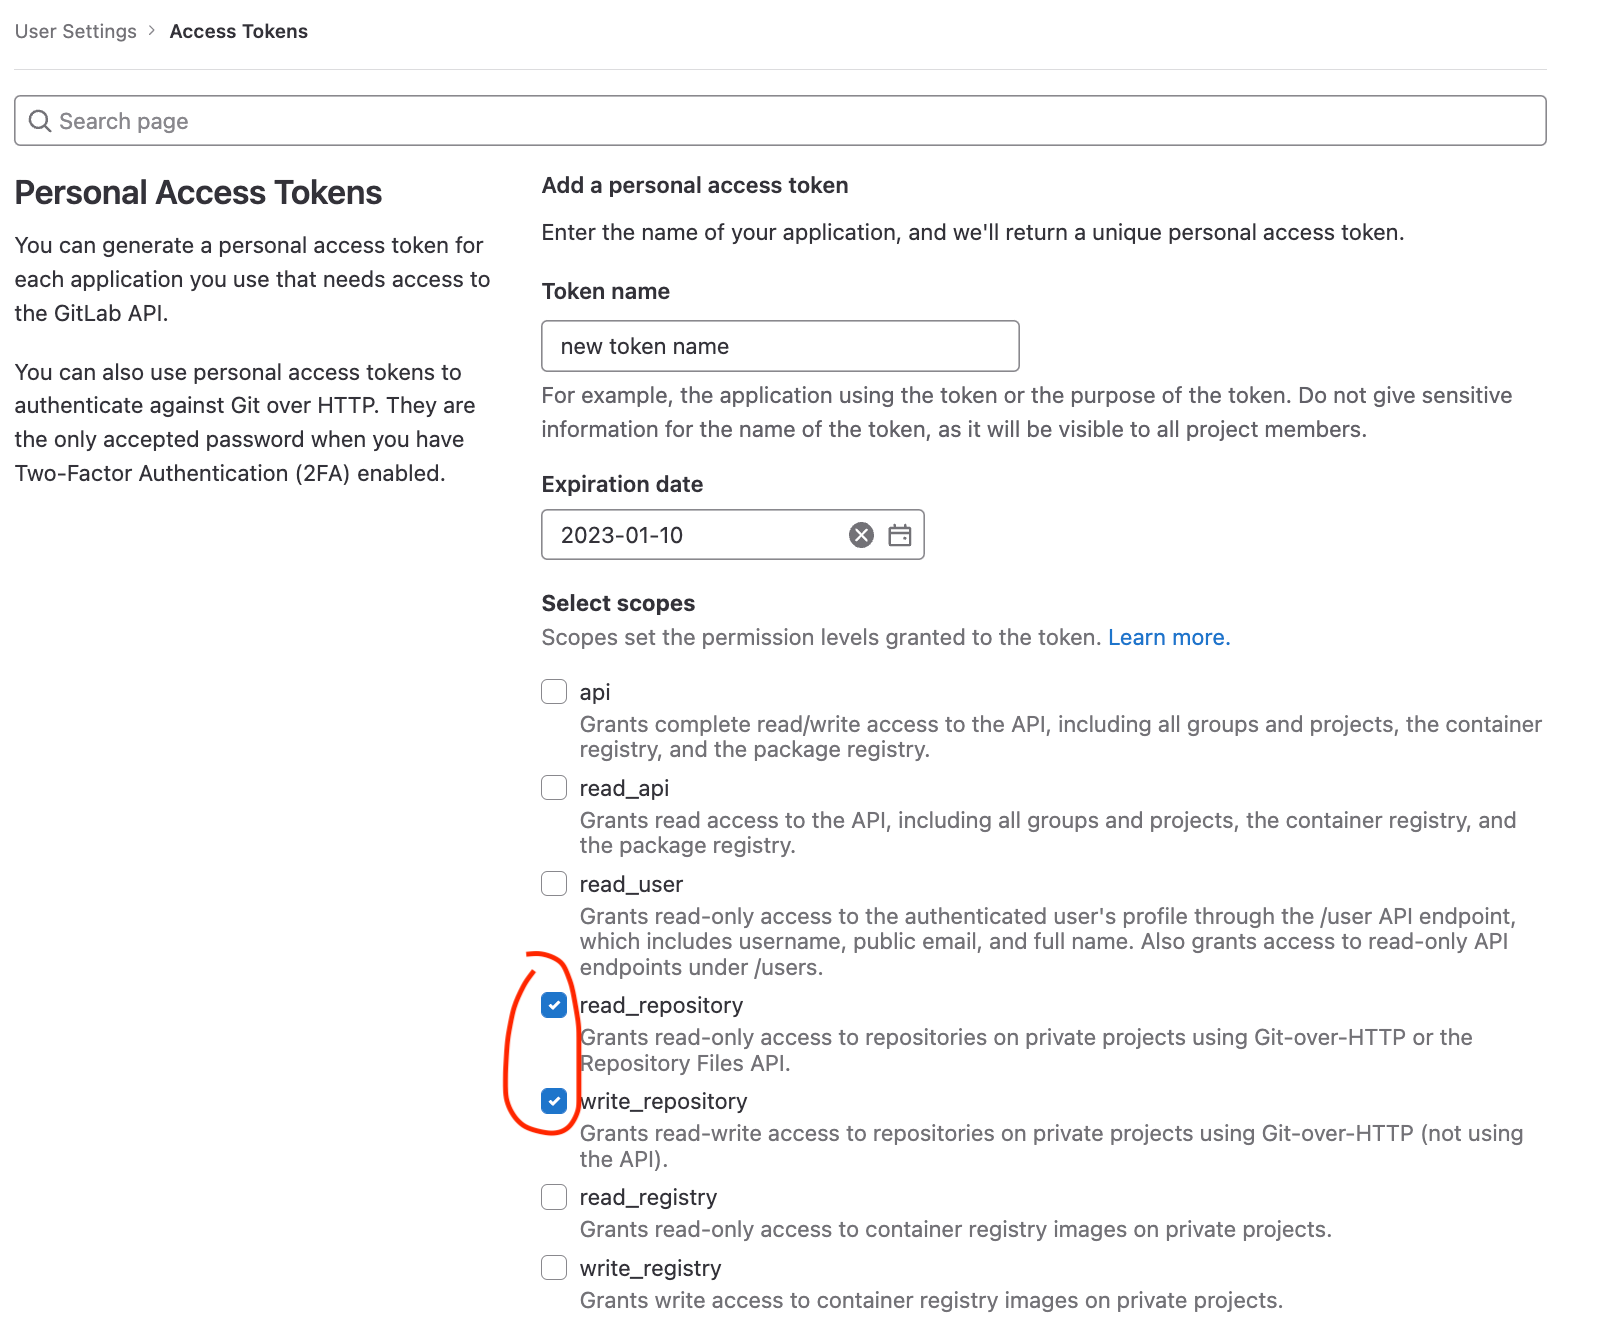
- Give your access token a name and select a scope for it. In most cases, the default scope (api) will suffice. You can also set an expiration date for the token if desired. But, if you want to be specific you can choose
read_repositoryandwrite_repository
- Click the Create personal access token button to generate your token. Don't close the window or refresh the page because you won't be able to retrieve and you'll have to create a new one.
- Copy the personal access token.
- Open your terminal, go to the directory that you want to clone the repository.
- Now you can clone the repository to your local machine by running a command similar to the following:
git clone https://<your-username>:<your-access-token>@gitlab.com/<your-username>/<your-repository>.git- You will be prompted to confirm the clone operation. Enter
yesto continue. - It will start downloading the code from gitlab.
Note: Personal access tokens are used similar to passwords. Be sure to keep them secure. Do not share them with anyone, and do not publish them online. You can also revoke an access token and create a new one if you think is compromised.
Note: An alternative solution would be to setup ssh. But let's leave it for another blog post.
The end
Congratulations! You made it to the end. It was an easy one :)
If you like the content here please consider subscribing.
If you have any comments or feedback feel free to reach me @costapiy
Member discussion